Call for tender procedure allows you to make requests from various vendors, services and price.We can select the vendor as we want to approach.
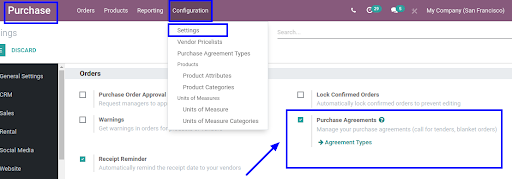
- First step is to make sure the Purchase Agreement checkbox is enabled.
- PURCHASE -> CONFIGURATION -> SETTINGS -> ORDERS -> PURCHASE AGREEMENTS
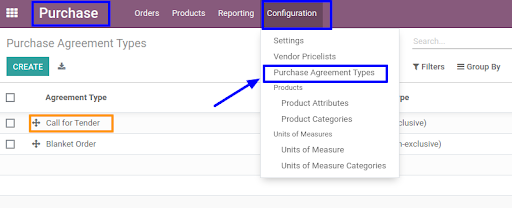
- Let me show you how the configuration of call for tender looks like.
- PURCHASE -> CONFIG -> PURCHASE AGREEMENT TYPE
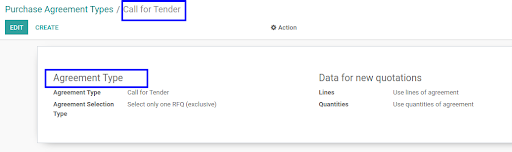
- This is what Call for tender config looks like:
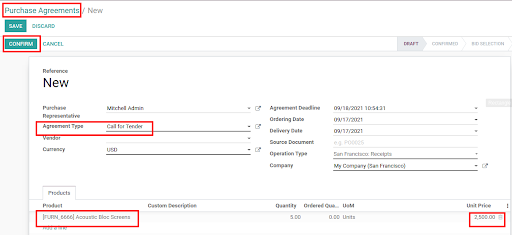
- Lets create a new Purchase Agreement.
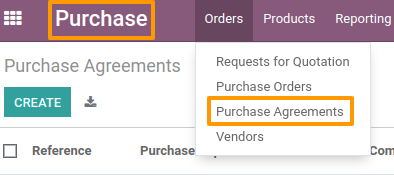
- PURCHASE -> ORDERS -> PURCHASE AGREEMENTS -> CREATE
- Here I have added one product that is Acoustic Block Screens. Once you have set the quantity and price CONFIRM IT.
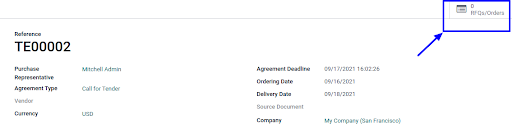
- Once you have confirmed, you can add RFQ as you want and them to the vendors.Here, now you can see there is no RFQ.
- Let’s assume the vendor has sent me the price details and I have entered them into the RFQ’S. In one RFQ I have entered the unit price as $2000 while for another one $3000.
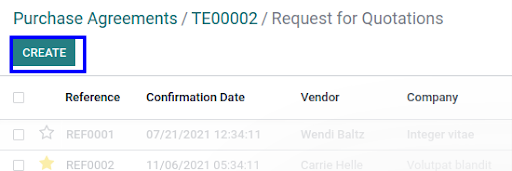
- RFQ/ORDER (top right corner of your purchase agreement) -> CREATE
- Below is the view for the RFQ’s. CONFIRM both of the RFQ’s which would lead to to updating the total value.
- Here’s the fist RFQ.

- And here’s the other one.
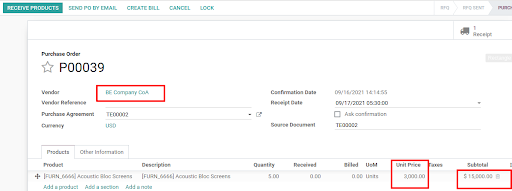
- Here, you can see that the prices are updated.

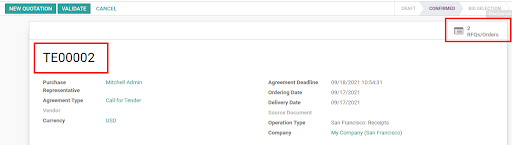
- Here you can see two RFQ.
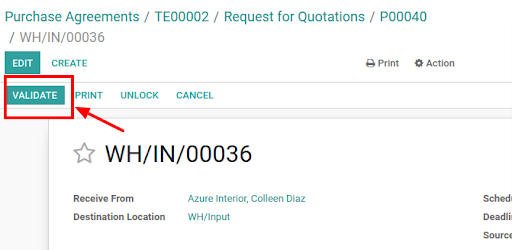
- Now let’s confirm the receipt. After doing so the values will be updated.
- PURCHASE AGREEMENT -> RFQ’s/ORDERS -> The quotation you choose -> RECEIPT -> VALIDATE

- Now validate.
- After confirming this one RFQ all the other RFQ will be cancelled.

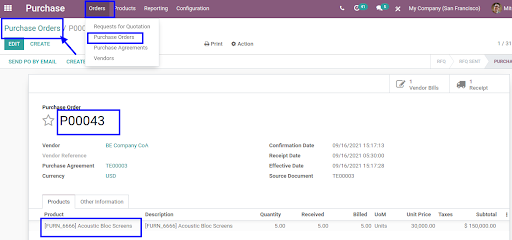
- The purchase order will be automatically created after this progress.
- ORDER -> PURCHASE ORDER
- There you can see your purchase order which is automatically created.
- This was it for today. Hope you learned something new.